![]()

Martin's "Midge" Kit Progress
Martin, Thought I'd keep you abreast of progress on your Midge Kit - your very own Midge Kit Blog.
| Monday through Thursday
- Prepared Mould for fuselage - primarily applying release agent and
polish
|
|
|
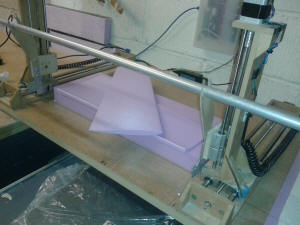
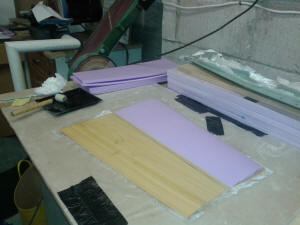
Wednesday 18 Mar 15 Set up and cut wings on CNC machine and cut veneer for wings to size |
 |
|
Friday 20 Mar 15 Final Polish of fuselage mould then application of Gel coat |
|
|
Saturday 21 Mar 15. am Laid up Fuselage into mould - epoxy resin and glass cloth, also laid up canopy, And all before breakfast! |
|
|
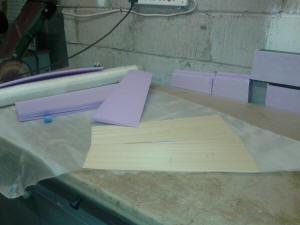
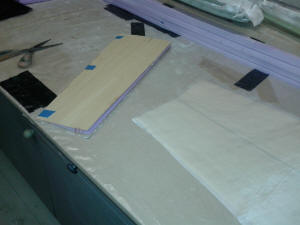
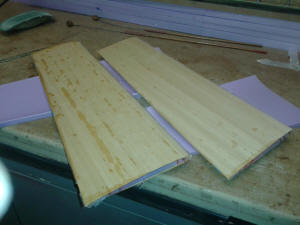
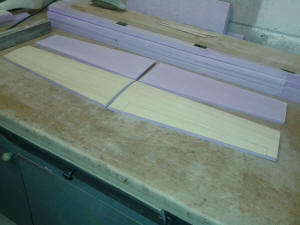
Coffee and Toast and back to finish off the wings. Applied Epoxy glass to wing veneers and covered foam cores. |
 |
|
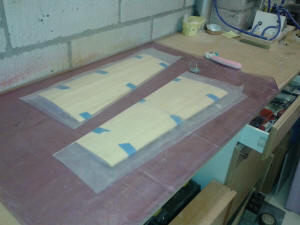
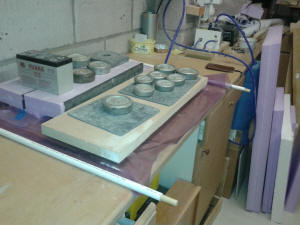
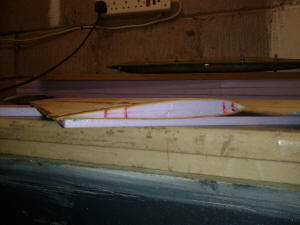
Wings in Vac bag to cure
The boring bit is having to wait for the epoxy to cure. But I'm off to do some DIY in my daughters New House. |
  |
|
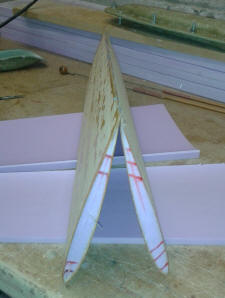
Saturday 21 Mar 15 - Evening Got to finish the day with a little modelling. Fuselage mould lay up trimmed and fuselage halves joined. A bit fiddly with such a small fuselage, although I have made some small tools to help apply epoxy cloth to join inside the fuselage. Going for dinner and a beer - Its been a busy day. |
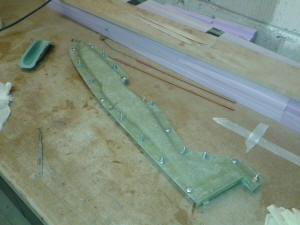 |
Fuselage mould now in airing cupboard to cure till mid next week.
The wing resin has set so wing vacuum has now been turned off but will continue to cure for a few days before I get to inspect, trim and sand the wing panels.
My biggest problem is that I get to this point and I already want to crack open the mould to see my new creation. But I have to discipline myself and find other things to do.
Assuming everything goes well, it should be ready for next weekend, I'll let you know.
Colin
|
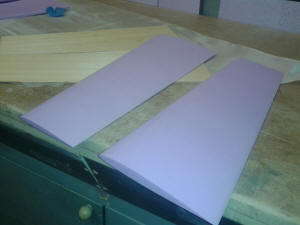
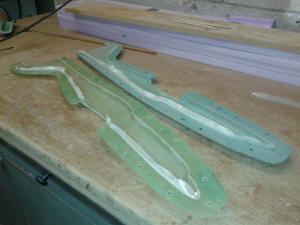
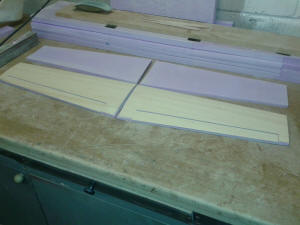
Sunday 22 Mar 15 Removed wings from vac bag. Wings checked - Good resin penetration and straight. Excess resin/cloth and veneer trimmed and sanded.
|
|
|
Ailerons cut out and angled for top hinge assembly. That's it for the wings for now. |
 |
|
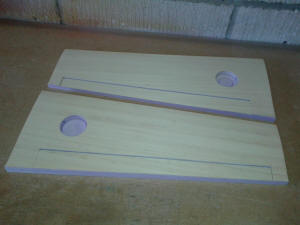
Monday 23 Mar 15 Servo recess cut and sanded in underside of wing. Wire conduit also created from wing root to servo hole. The wings have now been put into the foam core outer's for protection and put to one side to keep safe and allow epoxy to fully cure over the next few days. |
 |
| Fuselage will be subject to an update tomorrow. | |
|
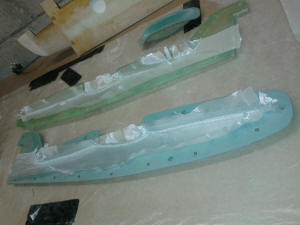
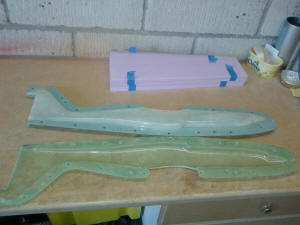
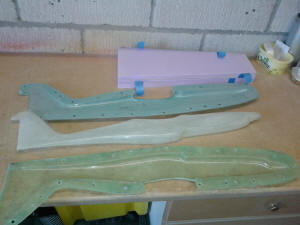
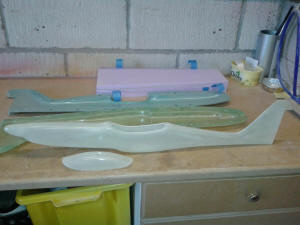
Tuesday 24 Mar 15 Time to reveal the fuselage - This is always an exciting time. Removed all the fastenings around the fuselage Mould and eased it open. This was probably one of the easiest lay ups to open. I inserted the plastic wedges and one side just popped off.......... Easy Peasy! A little persuasion for the other half of the clamshell and we have a new creation - A new Midge fuselage. A little trimming of the epoxy swarf that oozes into the mould flange due to capillary action. All trimmed. The canopy also released from its mould and the job is done.
|
  |
|
Job Done
|
|
|
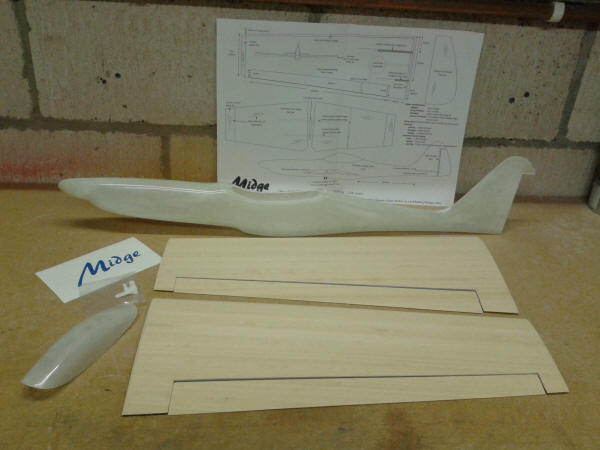
So, What's in the kit: 1. Epoxy Glass Fuselage 2. Epoxy Glass Canopy 3. Foam veneered wings (Pressed with 25g glass cloth and epoxy resin between foam and veneer and vac bagged) 4. A3 Plan / Drawing depicting full size rudder and tail plane. 5. Bell crank for tail plane 6. Vinyl "Midge" sticker
There is still a reasonable amount of work required to complete the build and assumes a level of experience to finish.
|
 |
|
Suggested Assembly Instructions (.pdf) Updated
|
Suggested Component to complete
model:
1. 1mm or 1.5mm (1/16") ply for wing sheer webs 14. Covering material for wings, tail plane and rudder (Epoxy glass (25g) used on prototype)
15. Paint for fuselage and canopy (Car
aerosol paint used on prototype)
16. RADIO: |